How to Add a Chat Widget to Your Website

Table of Contents
Adding a live chat widget to your website is one of the best ways to engage with visitors in real-time. Chat Board makes this process incredibly simple.
Getting Started
First, log in to your Chat Board dashboard and navigate to the installation section.
Step 1: Get Your Widget Code
- Go to Settings > Installation
- Copy the provided JavaScript code snippet
- The code will look something like this:
<script id="chat-init" src="https://dashboard.chatboardapp.com/account/js/init.js?id=YOUR_ID"></script>
Step 2: Add to Your Website
Paste the code snippet just before the closing </body> tag in your website's HTML. If you're using a CMS like WordPress, you can:
- Use a plugin like "Insert Headers and Footers"
- Add it to your theme's
footer.phpfile - Use your theme's built-in code injection feature
Customization Options
Once installed, you can customize your widget:
- Colors & Branding: Match your brand colors
- Position: Choose bottom-right, bottom-left, or custom
- Welcome Message: Set a friendly greeting
- Avatar: Upload your team's photos
Advanced Features
Automated Responses
Set up automated responses for common questions to provide instant answers even when your team is offline.
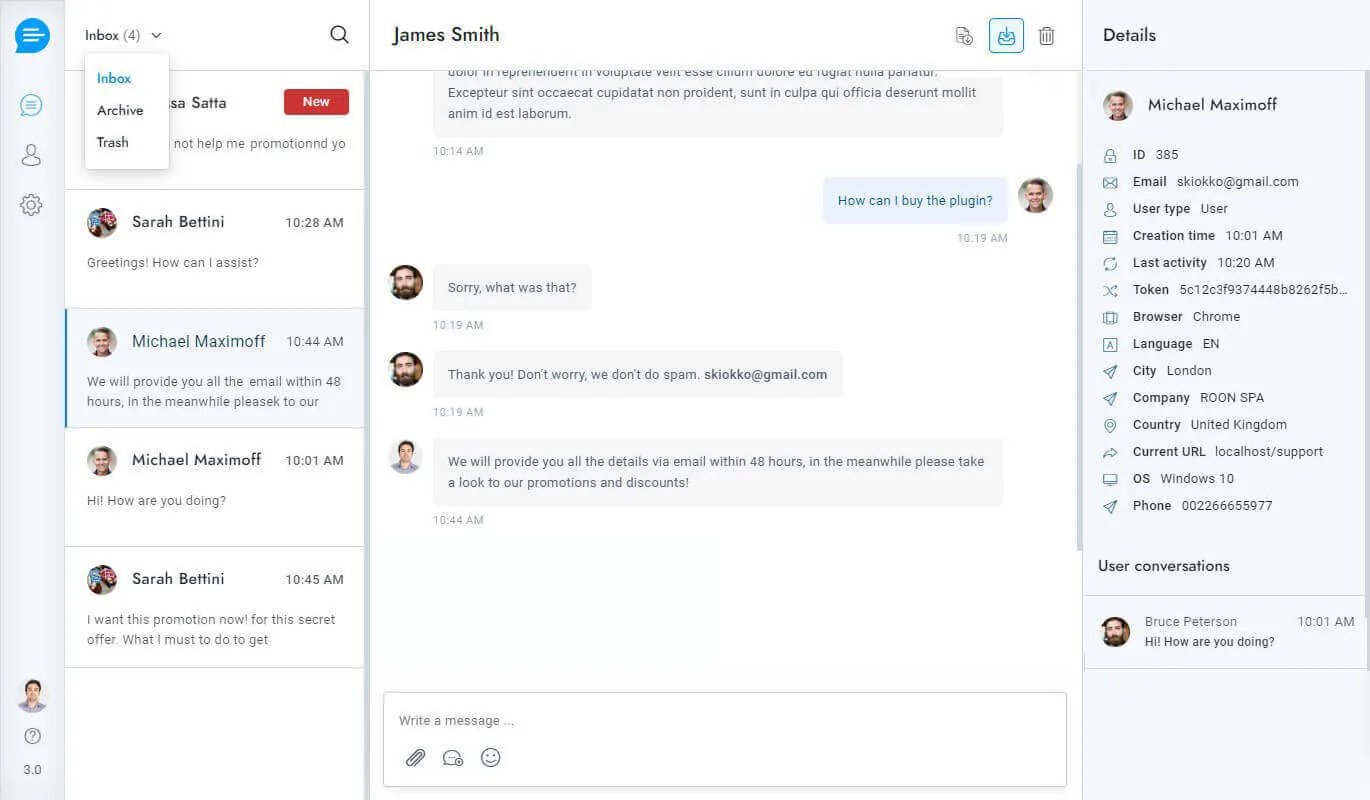
Visitor Tracking
See who's on your website in real-time and proactively reach out to visitors who might need help.
Integration with Other Tools
Connect Chat Board with your CRM, email marketing, and other business tools for a seamless workflow.
Testing Your Installation
After adding the widget:
- Visit your website in a private/incognito window
- You should see the chat icon appear
- Click it to test the chat functionality
- Send a test message to ensure everything works
Next Steps
Now that your chat widget is installed, explore these features:
- Set up automated chatbots for 24/7 support
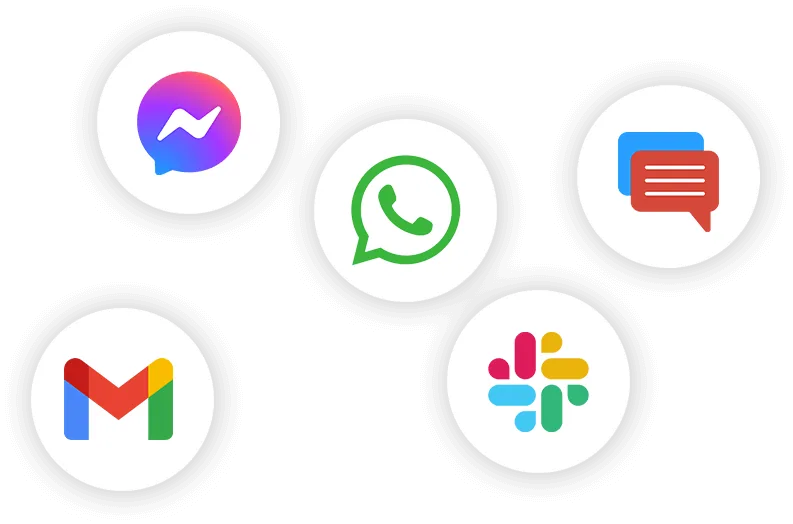
- Configure multichannel messaging to connect WhatsApp, Messenger, and more
- Review analytics to understand visitor behavior
Need help with installation? Our support team is available 24/7 via the chat widget on this page!